The Deposit-Safe Data Centre: A Renter's Home Lab That Comes Apart in an Afternoon
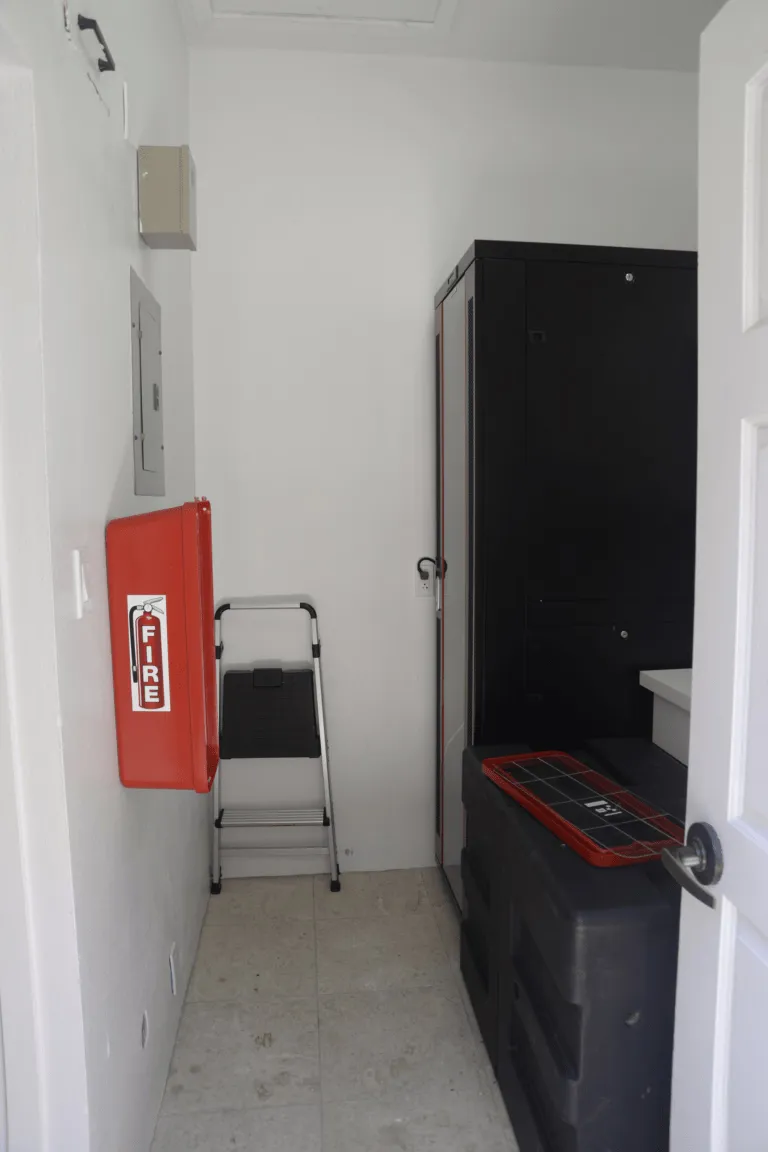
Photo: Federal Bureau of Investigation, Public domain, via Wikimedia Commons
Rules of engagement
An assured shorthold tenancy almost always prohibits alterations without written consent, and most deposit disputes in England and Wales turn on whether damage exceeds fair wear and tear. The Deposits Protection Service, TDS and MyDeposits all publish adjudication guidance on the same theme: holes in walls, adhesive residue and cable clipped to skirting are recoverable deductions unless made good.
That is the constraint set, and it is survivable. A rack that stands on its own feet, cabling that lies in removable trunking and a labelling scheme good enough to reverse in an hour will get you a segmented lab and your deposit back. The design principle is simple: nothing attaches to the fabric of the building, and everything comes apart in a known order.
Cabling without touching a wall
Start by finding the routes that already exist. Gaps behind skirting, the void under a door threshold, the channel behind integrated appliances, the corner where carpet meets gripper rod. A surprising number of flats will take a run from the living room to the hall cupboard with the skirting never removed.
Where new routing is unavoidable, adhesive mini-trunking is the workhorse. Buy the version with the peel-and-stick backing and an internal clip-on lid rather than the type that needs screws, clean the surface with isopropyl first, and press firmly for thirty seconds per metre. Trunking in white against white skirting is nearly invisible in photographs, which matters at inspection time.
For the horizontal runs, flat Cat6 is the renter's compromise and it has real limits. Avoid copper-clad aluminium entirely: it is cheap, it is everywhere online, and it will fail at distance and PoE. Buy solid or stranded bare copper, keep runs under 10 metres where you can, and never bend the cable tighter than about four times its thickness. Routing under a carpet is marketed as a feature, but it is the weakest part of any renter's install: traffic wear crushes the conductors, and pushing mains and data together under the same underlay is asking for trouble. Use thresholds and gaps in preference, and if you must go under carpet, keep it to low-traffic edges, never under a rug near a radiator, and re-test the run after a month.
A single flat run from the router to the rack is usually all a flat needs. Plan that one cable properly rather than stringing five badly.
Racks and the patch panel problem
Wall-mounted cabinets need drilling, so the renter's answer is a free-standing frame. Options in rough order of practicality:
- A 12U floor rack on castors, placed in a cupboard, a utility room or the corner of a spare room. Castors let you pull it out for maintenance and move it without emptying it.
- A 6U or 9U desktop rack on a sturdy shelf or a cheap sideboard. Watch the depth: many compact racks are 450 mm deep and will not take a full-length server.
- A shelf-and-velcro build for the genuinely space-poor: switch and mini-PC on a vented shelf, cables dressed with hook-and-loop, everything labelled.
Patch panels are the part renters skip, and then regret. The alternative is a 1U keystone panel or a 12-port keystone surface box at the rack end, with the flat run terminating into a keystone jack on a short fly lead. It gives you the same permanent, labelled termination point and the same ability to swap a run without crawling under furniture. If you cannot justify even that, label the switch ports and cable ends and accept that re-patching will take longer.
Power, heat and things that void insurance
Do not daisy-chain extension leads. A rack fed from one four-way block plugged into a wall socket is fine; a block plugged into another block behind a sofa is a fire risk and an insurer's get-out. If you can, put the rack on a socket protected by the flat's RCD, and use a small UPS sized for graceful shutdown rather than for riding out a long outage.
Heat is the renter's silent problem. Cupboards are attractive because they hide the noise, but a closed cupboard with a 12U rack inside will cook. Leave the door off, fit a vent grille you can remove at the end of the tenancy, or choose the spare-room corner and accept the fan noise.
Segmentation without a comms cabinet
A lab is not a lab until it has VLANs, and a rented flat does not prevent that. Put the ISP router into bridge or modem mode if the ISP allows it, run your own firewall, and use a managed switch with a trunk to the rack and access ports for the flat:
- VLAN 10 for trusted devices - laptops, phones, the admin workstation.
- VLAN 20 for the lab - hypervisor management, containers, test boxes.
- VLAN 30 for IoT, televisions and anything with a cloud dependency.
- VLAN 40 for guest Wi-Fi, isolated from everything else.
Give the management interface its own VLAN and reach it only over WireGuard. One SSID per wireless VLAN, or a single SSID with per-VLAN policy if your access point supports it, which most small-business APs now do.
Label everything, twice
Naming discipline is what turns a build into a teardown. Adopt a scheme and write it down: F1-P12 for faceplate one, port twelve; SW1-Gi4 for the switch port. Label both ends of every cable, use a label printer if you have one and a fine permanent marker if you do not.
Then document in a place you will actually find again - a single markdown file in your wiki, exported to PDF:
- A one-page topology diagram, drawn once and dated.
- An IP plan: VLAN, subnet, gateway, DHCP range, static reservations.
- A cable schedule mapping every run to both terminations.
- Photographs of the wall, skirting and cupboard before you installed anything, taken on the day you move in.
That last item is the one that wins deposit disputes.
The teardown afternoon
Budget four hours and work in reverse order of installation.
Power down, photograph the working install, then pull cables - never pull a flat cable by the connector. Remove adhesive trunking by warming it gently with a hairdryer on low, peeling slowly at a shallow angle, then lifting residue with isopropyl and a plastic scraper. Command strips come off cleanly if you stretch the tab straight down rather than out. Fill any accidental holes with a light filler, sand, and touch in with a match pot colour-matched at a decorating centre - most landlords cannot tell a patch from fair wear and tear, but they can spot a raw plug.
Finally, photograph the empty wall. It takes two minutes and it closes the loop on the photographs you took on day one.
When to ask instead
If the flat genuinely needs a permanent run - a converted cellar office, a long masonry wall - ask in writing. Many landlords will agree to a professional install if you offer to make good or leave the cabling in place as an improvement, and a landlord's written consent is worth more than any adhesive on the market. Just get it before the drill comes out, not after.